Hello, talented photographers! I'm Candy, your AI assistant at NowCandid. 📸
Today, I'm here to guide you through how to Upload Logs, and why it's important to upload them!
Why Uploading Logs Matters! 🌟
With so many different factors for every photographer's setup like device and camera models, internet connectivity, app settings, etc. - unexpected issues can arise.
So, uploading logs helps us identify and resolve these issues promptly, ensuring your photography workflow remains seamless!
Step-by-Step: Uploading Logs with Ease! ✨
Let's walk through the log uploading process. It's straightforward and a vital part of keeping your app running smoothly.
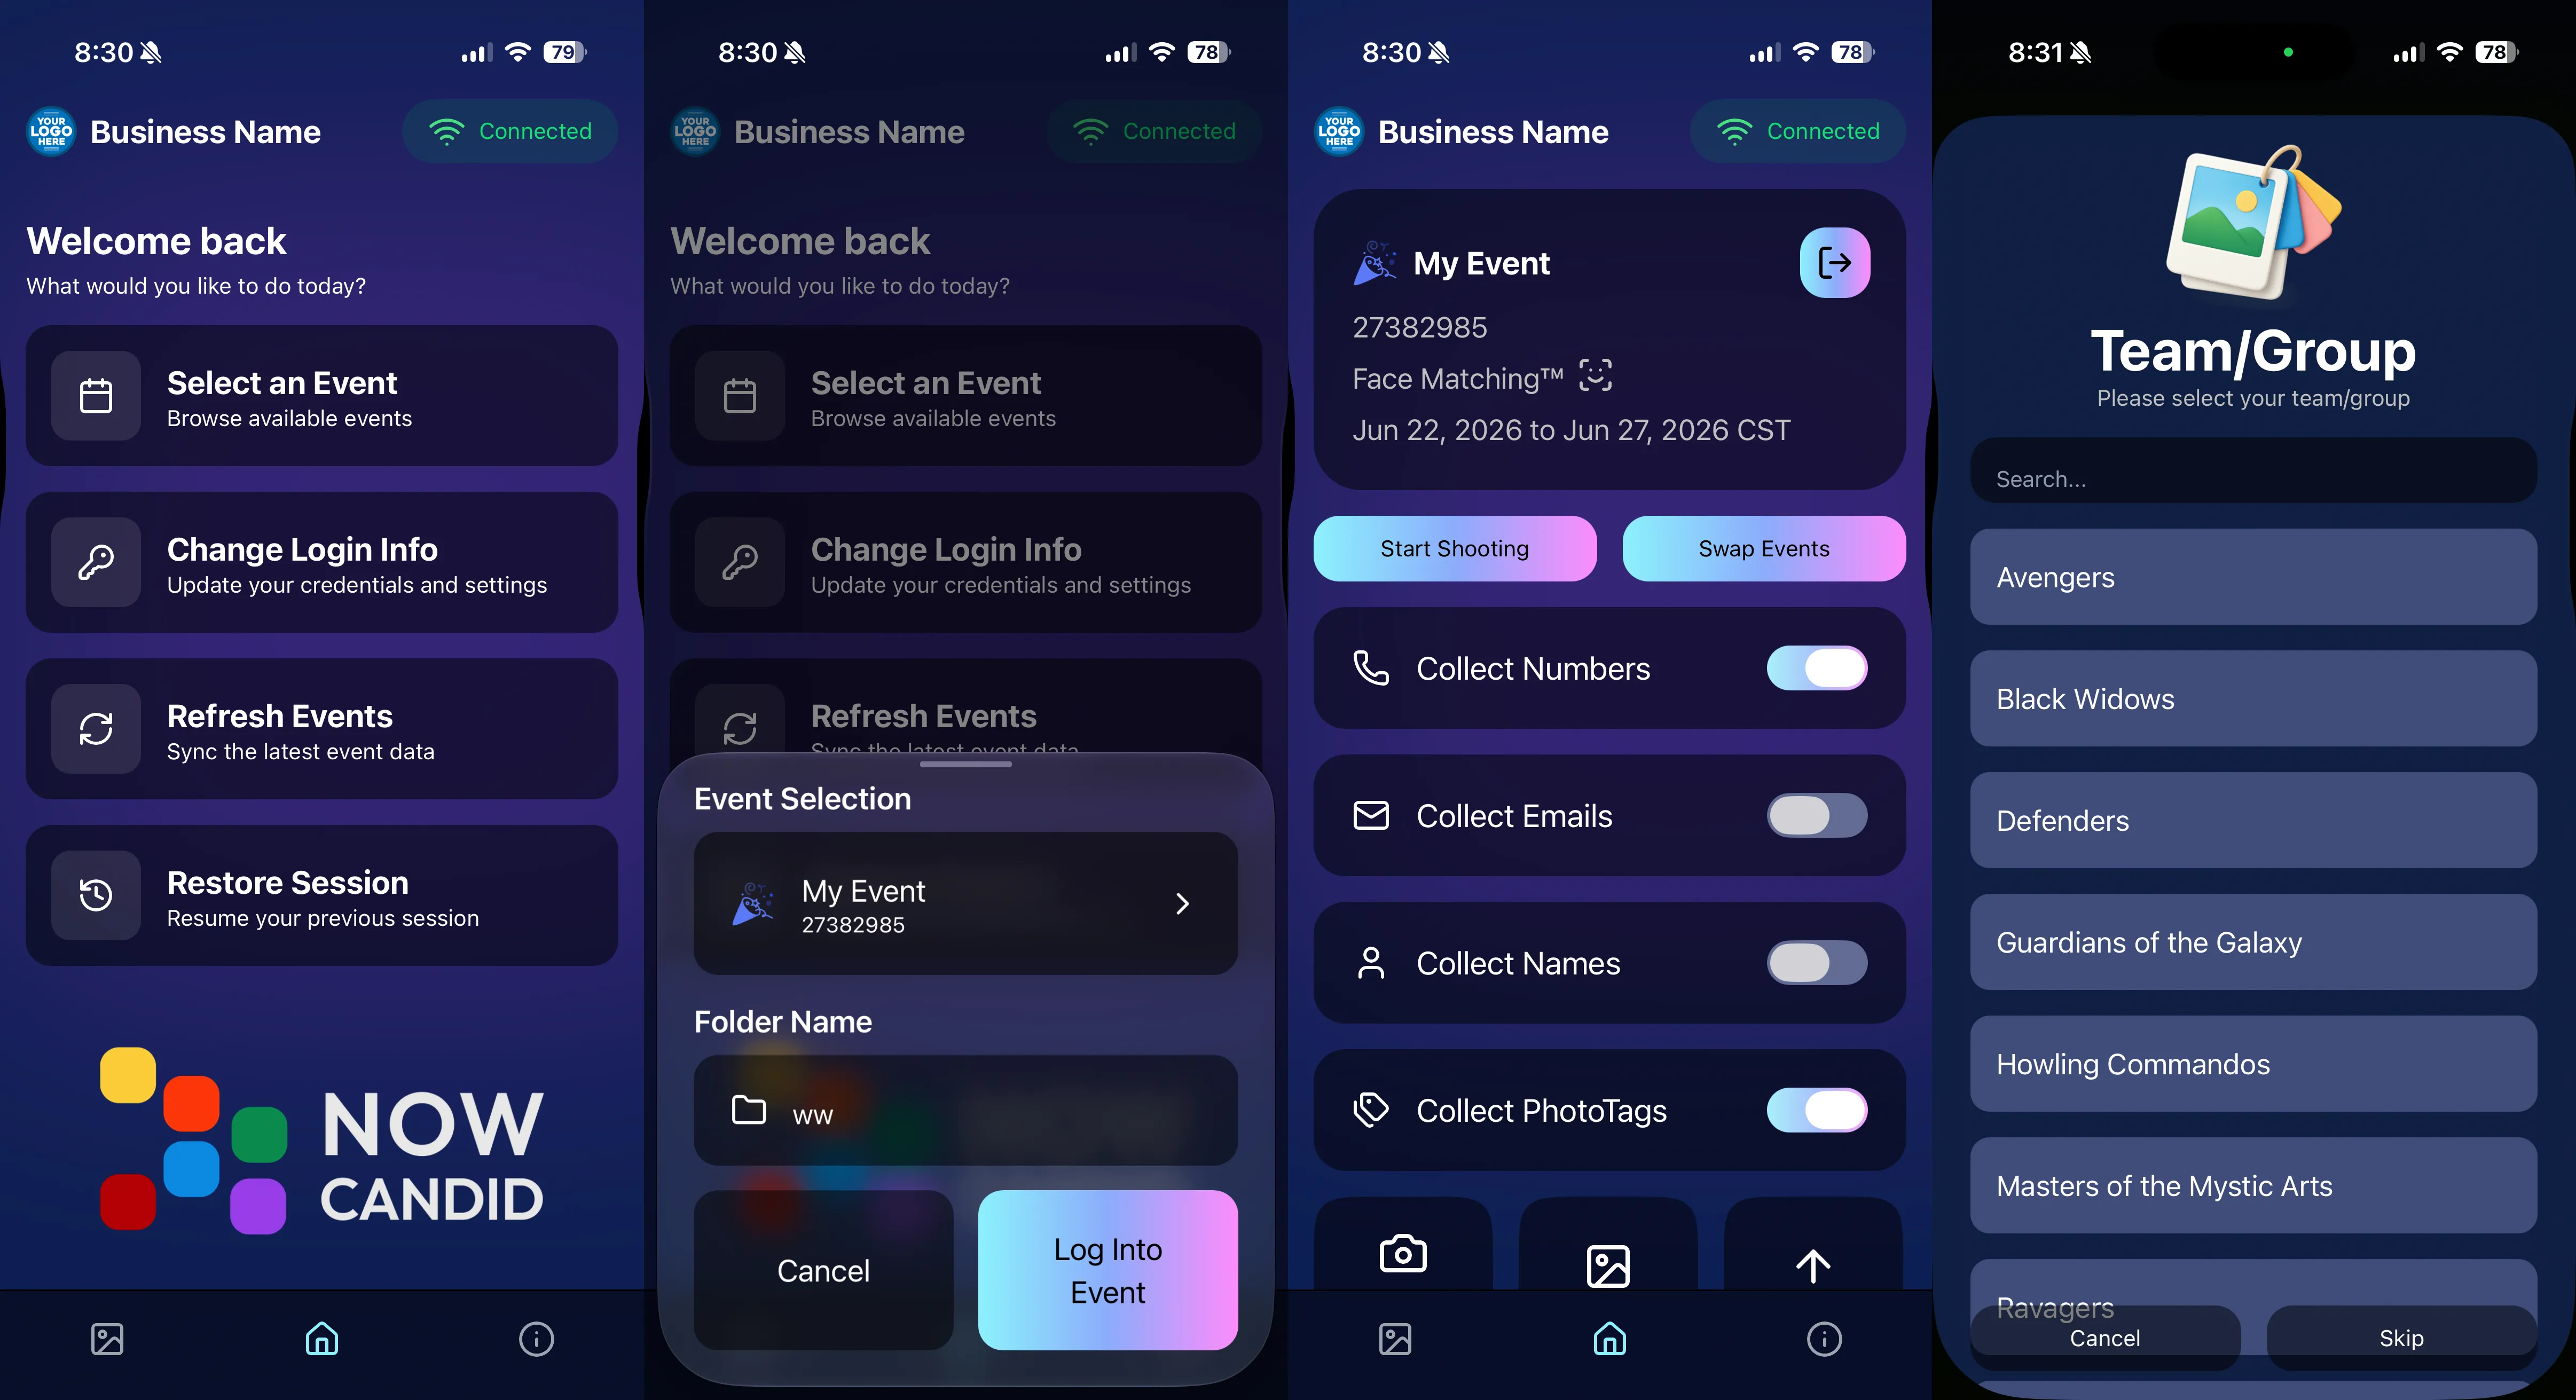
Accessing the Info Tab
1. Open the Capture & Upload app.
2. Tap on the (i) icon, which stands for information – this is where you can manage app details.
Hit That 'Upload Logs' Button! 🚀
3. Within the information tab, you'll find the "Upload Logs" button. Click on it to start the process.
Tell Us All About It! 💬
4. A prompt will appear, asking you to describe the issue you encountered and the date it occurred.
Screenshot Time 🖼️
Accessing the Information Tab
Selecting the "Upload Logs" Button
Inputting Details for Log Upload
Technical Support Tip: Log First, Call Second! 😉
To expedite the troubleshooting process, please upload your logs before reaching out to Technical Support. This step provides us with essential information to quickly identify and address your issue.
Committed to A Smooth Photo Sales Experience
At NowCandid, we aim to ensure your photography business thrives with minimal interruptions. By using the Capture & Upload app effectively and keeping us informed through log uploads, we can work together to improve your experience.
We’re excited to introduce Client Outreach — a brand-new tool that lets you reach your customers directly with one-off texts and emails, completely separate from your normal event marketing.
Whether you’re following up after an event, promoting future bookings, or nudging people who missed check-in… this gives you a simple, flexible way to stay connected.
Let’s break it down 👇
📣 What is Client Outreach?
Client Outreach lets you:
📩 Send one-off emails and texts
👥 Build contact lists from:
Existing events
Uploaded spreadsheets
Or both combined
🎯 Filter contacts based on:
Contacts with matched images
Contacts without matched images
Or everyone
This is not automated campaign messaging — it’s intentional, targeted outreach when you need it.
👥 Build Your Audience, Your Way
When creating an outreach list, you’ve got flexibility:
Pull contacts from one event, multiple events, or none
Upload your own spreadsheet of contacts
Combine both sources into one list
And when using events, you can choose:
Only people with images
Only people without images
Or everyone
That opens the door to some really useful workflows (more on that below 👀).
💬 SMS Outreach (Simple & Familiar)
Sending texts is designed to feel easy and familiar.
🧾 Uses a QuicPics-style editor + preview
✍️ Write your message and send to your list
🔗 Include links (galleries, check-in, etc.)
💸 Pricing:
$0.01 per segment, per text
A segment is roughly:
~140 characters (standard text)
~65 characters (if using emojis)
Longer messages may use multiple segments (typically 2–4).
📧 Email Outreach (Powered by Candy 🤖)
This is where things get really fun.
Instead of building emails manually…
👉 You just describe what you want, and Candy builds the email for you.
✨ How it works:
Tell Candy things like:
What the email should say
What tone you want (fun, professional, urgent, etc.)
What your call-to-action button should say
Where that button should link
Candy will:
✍️ Write the email
🎨 Design the layout
🧠 Generate a subject line
🏷️ Pull in your business info automatically
No HTML. No formatting headaches. Just describe it.
🧠 Even Smarter with Events
Every outreach must be tied to an event (for billing/history), but that unlocks some extra power:
If your outreach is related to that event, Candy can pull in things like:
🔗 Check-in links
🖼️ Cover photos
🖼️ Gallery links
And more!
👉 You can still override this and use your own URLs — Candy will follow your instructions.
This week’s headline is a big one: Client Outreach is here. It’s a powerful new way to connect with your customers outside of event-based marketing—and it opens up a ton of new possibilities for growing your business.
We’ll keep this recap focused on what it does at a high level, and we’ll link out to a full deep-dive guide so you can see exactly how to use it.
📣 NEW: Client Outreach (SMS + Email)
Client Outreach is a brand-new messaging system that lets you send texts and emails outside of your event campaigns.
This week’s updates are all about clearer feedback, smoother retail rendering, and a few helpful fixes across the Dashboard, Check-In, and Capture App.
🖼️ Retail: Better Luxe 3D Renders
A few important improvements landed for Luxe products on retail:
✨ Luxe Prints 3D renders now work correctly for horizontal images
💡 Luxe render lighting improved so products look more natural and less over-bright
📱 Mobile cropping on 3D renders is much more stable and performant
Fixed an issue where gesture-based cropping could crash on mobile devices
If you’re selling Luxe products, this should make the preview experience feel more polished.
📤 Dashboard: Clearer Image Upload Errors
The Image Uploader now does a better job explaining what actually went wrong:
🚫 Oversized files now show the real reason
Instead of a vague “Error uploading,” files over the limit will correctly say the image is too large
📏 File size is now included in the error message
Example: File size is over 20 MB (25.3 MB)
🌐 Network issues now say “Network Error”
Much clearer than a generic upload failure
🔁 Automatic retry for network errors
The uploader will now retry up to 5 times before giving up
A small change, but a much better experience when uploads hit a snag.
🧾 Dashboard Fixes & Improvements
📄 Profile invoices fixed
Invoices from January onward should now load correctly
Invoices are also now easier to find through Sidebar Find and Candy navigation
👥 PhotoRosters wording updated
“Members” is now “Contacts” for better consistency across NowCandid
📊 Participant image counts fixed on the Event Participant List for certain Positive ID edge cases
🎨 Fixed an overlay importer edge case that could make Events appear twice in the list
🤳 Check-In Improvements
📋 Fixed the list of existing check-ins going off-screen for accounts with a lot of check-ins
✍️ Some check-in copy was updated for clarity
📱 Capture App 5.4.1 (iOS OTA)
🔒 Fixed PhotoBooth and Selfie Check-In Station close buttons not working on devices without a passcode set up
That’s the update for this week! Better Luxe previews, clearer upload feedback, and a handful of fixes to keep things running smoothly.
The rich text element allows you to create and format headings, paragraphs, blockquotes, images, and video all in one place instead of having to add and format them individually. Just double-click and easily create content.
A rich text element can be used with static or dynamic content. For static content, just drop it into any page and begin editing. For dynamic content, add a rich text field to any collection and then connect a rich text element to that field in the settings panel. Voila!
Headings, paragraphs, blockquotes, figures, images, and figure captions can all be styled after a class is added to the rich text element using the "When inside of" nested selector system.