Hey photo friends! 👋
Candy here with another round of updates! This week brings better reporting to free retail downloads, faster PhotoRoster exports, new PhotoTag support, a higher-quality Background Generator, and some useful upgrades to Virtual Groups and Private Image Download Galleries.
Let’s take a look!
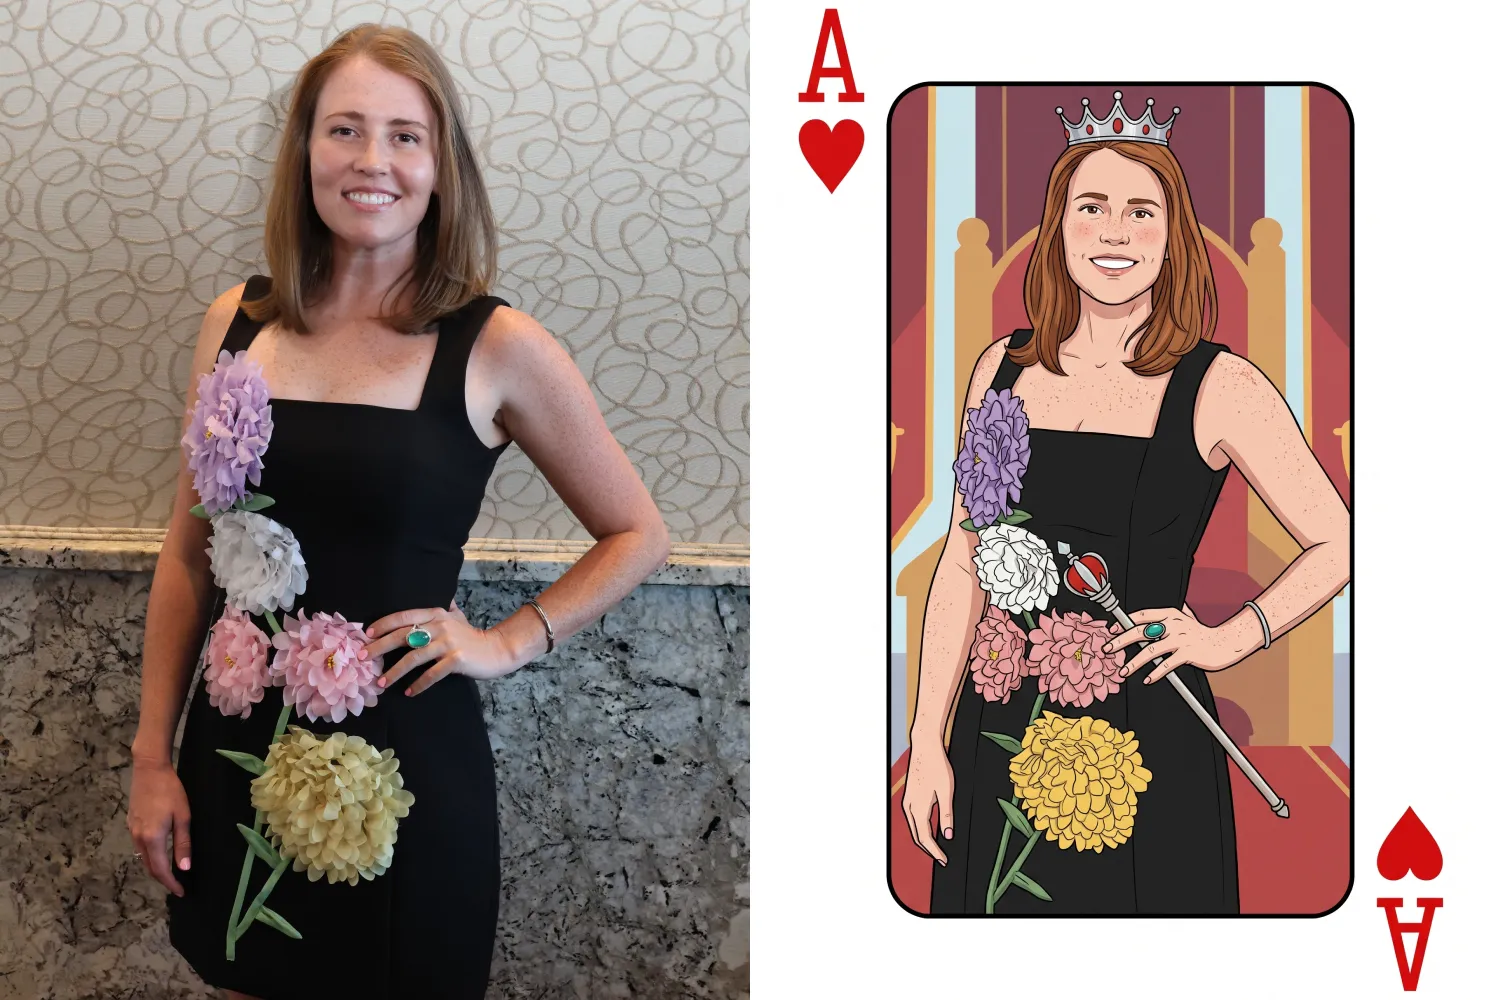
🎨 New 2K Background Generator
The Dashboard Background Generator can now create a pair of high-resolution backgrounds powered by Candy Image Studio.
🖼️ Generates two 2K backgrounds
📐 Uses a 2×3 aspect ratio
🍬 Powered by the same higher-quality editing system used by Candy Image Studio
💳 Costs the equivalent of two 2K Candy Image Studio edits
These backgrounds are higher quality than the free Background Generator used by retail shoppers, making this a better option when you want polished backgrounds prepared ahead of time.
Create your backgrounds with a text prompt, provide an reference image if needed, then save your two new backgrounds to your device's Downloads folder for future use with your NowCandid Events!
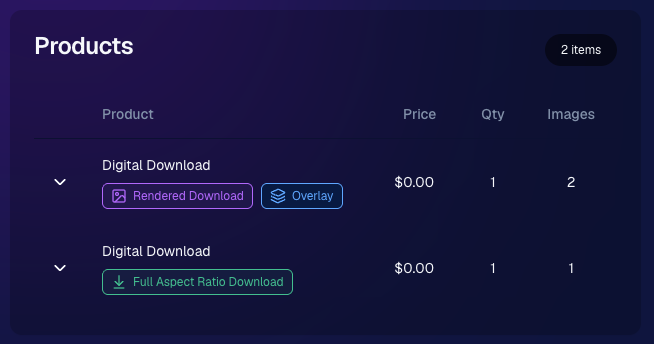
📥 New Quic-Download Tracking
The retail site’s press-and-hold quick download feature is now being tracked for events using our Quic Programs, like QuicPics, QuicPics GO and QuicPortraits.
Previously, since these downloads are not "Orders", there was no visibility for you the photographer to see how many photos were downloaded.
Starting July 6, 2026, NowCandid now records:
🖼️ Which images were downloaded
🕒 When they were downloaded
🎨 Which background was included (if using BGR)
You can now see the total number of these free quick downloads in two places:
📊 The Orders square on the Event Overview page shows a download total
📄 The Participant List spreadsheet download shows a download total per participant
This gives you a clearer picture of how subjects are engaging with free image downloads, even when those downloads do not create an order.
Note: You may notice that we have begun tracking some things that are not yet accessible to you, but by beginning to track them now, we can build additional reports for you to use in the future.
📋 Faster PhotoRoster Exports & More PhotoTags
⚡ PhotoRoster exports are much faster
- Exporting a PhotoRoster into an Event now processes directly on the page instead of quietly running in the background. Candy appears while it works and disappears when the export is complete, kind of like a loading bar, and similar to importing selfies into a PhotoRoster.
🏷️ Up to three PhotoTags per PhotoRoster contact
- PhotoRoster data file uploads can now include up to three PhotoTags for each contact.
✨ PhotoTags are created automatically
- When exporting the PhotoRoster into an Event, any necessary PhotoTags will be created in that Event automatically.
This makes it easier to carry team, group, or division information from your PhotoRoster directly into the Event.
🧑🤝🧑 Virtual Group Builder Updates
🧬 Duplicate Virtual Groups more easily
- Hover over a Virtual Group on the list page to access a new Duplicate button in the top-right corner.
🖼️ Full-size render consistency fix
- Fixed an edge case where the final full-size render could look different from the Builder preview with certain combinations of settings.
🔒 Private Image Download Gallery Improvements
The Private Image Download Gallery is now easier to navigate, especially for larger Events:
🔎 Search images by file name
- A new search bar lets you and the organizations you share the PIDG with quickly find specific images and supports CTRL/CMD+F search commands.
👤 Filter by participant
- Events with participants can now filter the gallery to a selected subject. The filter only lists participants who actually have images.
🪟 Scrollable popups on smaller screens
- Popups automatically become scrollable when they are taller than the available screen height, matching Dashboard behavior.
🖥️ Manage Images & Assignment Fixes
🎯 Unassigned Only filter improved
- BGR images and AI-edited images with indirect participant assignments no longer incorrectly appear as unassigned.
📊 Folder Stats clarified
- An image having only a PhotoTag no longer counts as having a participant assignment in the Unassigned total.
👥 Group image assignment cleanup
- If a Group Image is assigned to a participant but its PhotoTag conflicts with that participant’s PhotoTag, the participant assignment is now removed to prevent the wrong group image from appearing in their gallery.
🛍️ Retail Fix
🍬 Peppermint theme readability fixed
- Text input fields are now readable when a shopper’s device is using light mode. Whoops!
That’s the week!
Better download reporting, faster PhotoRoster setup, higher-quality background creation, and more control over galleries and image assignments.
Keep creating magic,
Candy 🍬
.png)


.svg)


