HomeNavigation arrowBlogNavigation arrow
Current page
Feature Updates

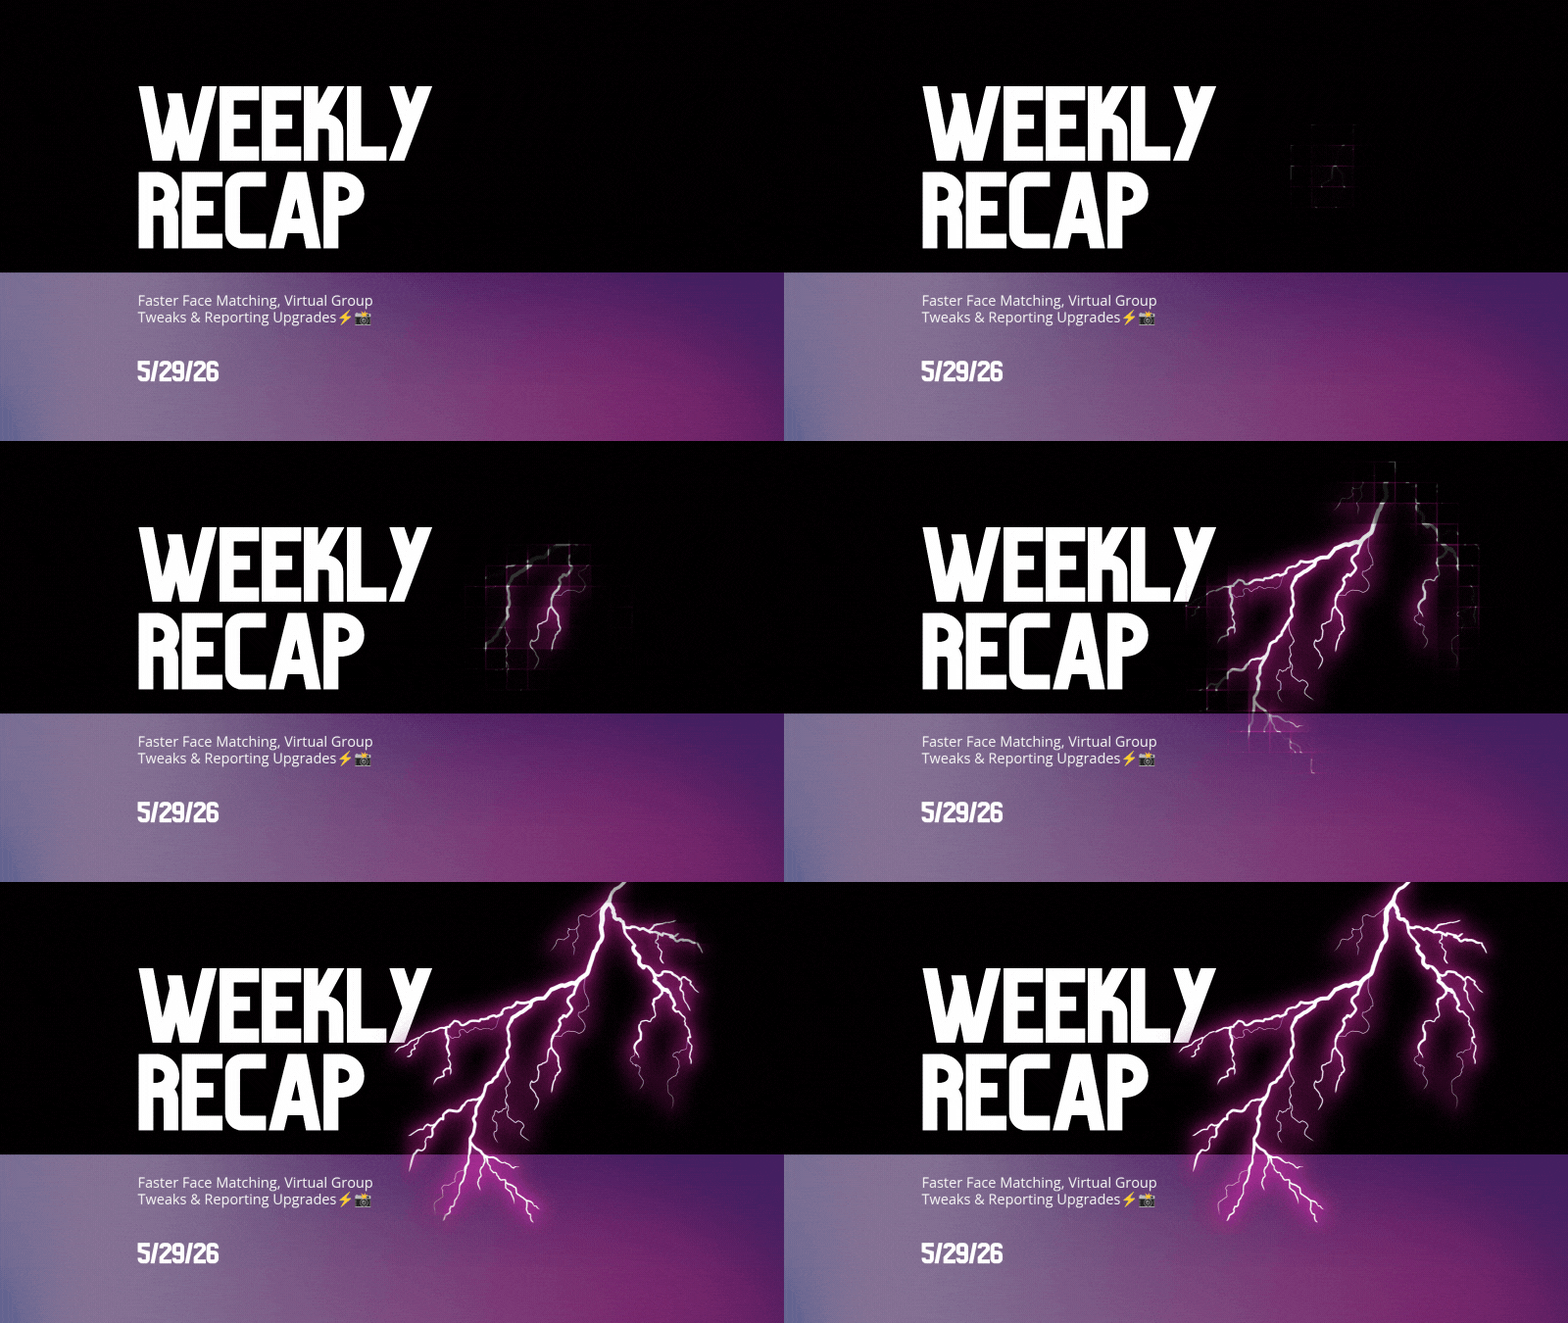
Weekly Recap: Faster Face Matching, Virtual Group Tweaks & Reporting Upgrades ⚡📸

Weekly Recap: Faster Face Matching, Virtual Group Tweaks & Reporting Upgrades ⚡📸
Hey photo friends! 👋


This week’s update is all about keeping up with the busiest season yet. We saw an enormous wave of images come through recently — more than ever — and Face Matching delays got much longer than we want them to be.

So, we’ve been making improvements accordingly. 💪

⚡ Face Matching Speed Improvements

🚀 Face Matching performance upgrades are in progress! We’re implementing changes that should help speed up Face Matching by up to 10× faster in some cases.

These improvements are especially important during high-volume stretches like graduation season, when thousands upon thousands of images are coming in at once. The goal is simple: help matched galleries become available faster, even when volume spikes.

📊 Reporting Upgrades

📈 Sales Report now supports up to 15,000 orders

  • The Sales Report list and Excel download can now include up to 15k orders at once. Previously, the limit was 1k.

💵 Sales Report download now includes eFee and COGs

  • The Excel export now includes eFee and COGs for each order, giving you more detailed financial visibility.

📦 Products Report sorting fixed

  • Column sorting now works correctly on the Products Report.

🏷️ Event Tags report filter fixed

  • Fixed an issue where the Event Tags filter could set the end date based on the newest Event end date instead of today, potentially missing newer report data.

🧑‍🤝‍🧑 Virtual Group Builder Improvements

📝 New Text Vertical Position slider

  • You can now adjust the vertical position of subject names in Virtual Group Builder.

🎯 Logo positioning fix

  • Fixed logos being off by a few pixels in Virtual Group Builder.

🧭 Edit redirect fix

  • Fixed an issue where editing a Virtual Group could sometimes send you back to Home.

🖼️ Dashboard Image Management Updates

🔢 Manage Images now shows total image count

  • At the top of the Manage Images page, you’ll now see how many images are included in your current search/filter results.

🏷️ PhotoTag duplicate prevention improved

  • PhotoTag creation now better prevents duplicates caused by extra empty space at the end of the PhotoTag name.

🛍️ Retail Improvements

🧑‍🤝‍🧑 PhotoTag group images appear first

  • When a participant is associated with a PhotoTag, group images tied to that same PhotoTag will now appear before general group images with no PhotoTag.

⬇️ Receipt download button cleanup

  • The Download All Images button is now hidden if the order does not include any downloads to reduce confusion.

Web Receipt Download Page processing message fixed

  • If a customer clicks the receipt download link before the order is fully loaded by the lab, the page will correctly say the order is still processing.

✂️ Z-crop product cropping improved

  • When cropping a z-cropped image during product configuration, retail now uses the z-cropped version directly instead of jumping back to the full original image.

🖼️ “Matte” clarified to “Standard”

  • Most products now use "Standard" instead of "Matte" for clearer wording. Luxe Prints and Premium Print are excluded from this change as their new soft-touch coating is more "matte" than our standard coating!

That’s the week!

Faster Face Matching is the big focus right now, and these reporting, Virtual Group, Dashboard, and retail updates should help keep things clearer and more manageable going forward for photographers as well!

Keep creating magic,

Candy 🍬
Related articles

Weekly Recap: Titled Luxe Prints, Zoom Cropping, and Candy Image Studio “From Scratch”
Feature Updates
April 10, 2026

Weekly Recap: Titled Luxe Prints, Zoom Cropping, and Candy Image Studio “From Scratch”

5
 minutes read
Hey photo friends! 👋

This week’s updates are a fun mix of new products, new visual workflows, and small-but-important fixes that make day-to-day work smoother—especially across Candy Image Studio, retail packages, and PhotoRoster/PhotoTag downloads.

Let’s jump in. ✨

📣 Dashboard: Client Outreach + Workflow Quality-of-Life

Client Outreach email history is easier to use and more reliable:

  • Added a “View” button in Client Outreach email history so you can open the sent email in a new tab (similar to how order receipts work).
  • Fixed an issue where email status didn’t always show for all emails in the status list.

More clarity when reviewing participant galleries:

  • The Participant Details page now shows invisible images, clearly marked in red with an “Invisible” label—so you can understand what’s hidden without guessing.

PhotoTag participant gallery downloads got safer:

  • Fixed PhotoTag participant gallery downloads overwriting images when multiple files shared the same frame.
  • Fixed the download count displayed on the download button being off.

🎨 Candy Image Studio: Create Without an Input + A New Node

Candy Image Studio has two notable upgrades this week:

🧠 No input image required (generate from scratch!)
Candy Image Studio no longer requires an input image to get started. You can generate from scratch using the “From Scratch” node (at the very bottom), or by starting from custom text or a custom image—great for things like creating portrait backgrounds or creative assets.

🆕 New “Bobblehead” node
A brand-new Bobblehead node is now available inside Candy Image Studio.

Disclaimer: This is not a new product. This is an image node in the Candy Image Studio.

🏈 Jersey Jotter + Event Settings Cleanup

Jersey Jotter settings were removed from the Create/Edit Event popup.
Since Jersey Jotter now has its own dedicated page, we pulled those settings out of the event popups to keep Create Event as minimal (and fast) as possible—and keep Edit Event aligned with Create.

New: “Auto Enhance” can be turned off in Create/Edit Event.
Important clarity here:

  • Auto Enhance isn’t new — it has always been enabled by default.
  • What’s new is the ability to turn it off from the Create/Edit Event popup.
  • It’s labeled “Auto Enhance” (not “Retail Enhancement”) because it affects more than retail, including things like LiveLoop, Dashboard previews, Shareable Download Gallery, and more.
  • Note: this setting only impacts images uploaded after you change it. (So anything already uploaded keeps whatever enhancement state it had at upload time.)

🛍️ Retail: Package Backgrounds + Fixes

A few retail improvements landed to reduce confusing edge cases:

  • When selecting a PNG (without a faux background render) during the “Next Package Item Image Picker” step, the chosen background will now default to the first background in the background picker list (instead of the purple default).
  • Fixed an issue where the background selector step didn’t always appear for non-faux BGR images.
  • Fixed a crash related to having Wall Clings in packages.
  • Updated the Free Download description to: “Free simple, full-resolution download of your image.” (Previously it implied lower resolution.)

🔍 NEW: Zoom Cropping “Z-Cropping” (Dashboard + Retail)

In Advanced Offer Settings, you can now enable Zoom Cropping, which automatically adds an additional image into the customer’s gallery that is zoom-cropped toward their face.

Details & rules:

  • ✅ Works on Face Matching Events
  • ✅ Works only on images with one face
  • ✅ All default graduation offers/price levels now have Zoom Cropping enabled
  • Behind the scenes, it applies a ~30% zoom toward the face, with an additional ~30% pull from the center of the image toward the face (clamped to avoid cropping beyond image bounds)

This is a great “quiet upgrade” for grads and portrait-style moments where customers love a tighter crop—without you needing to manually create it.

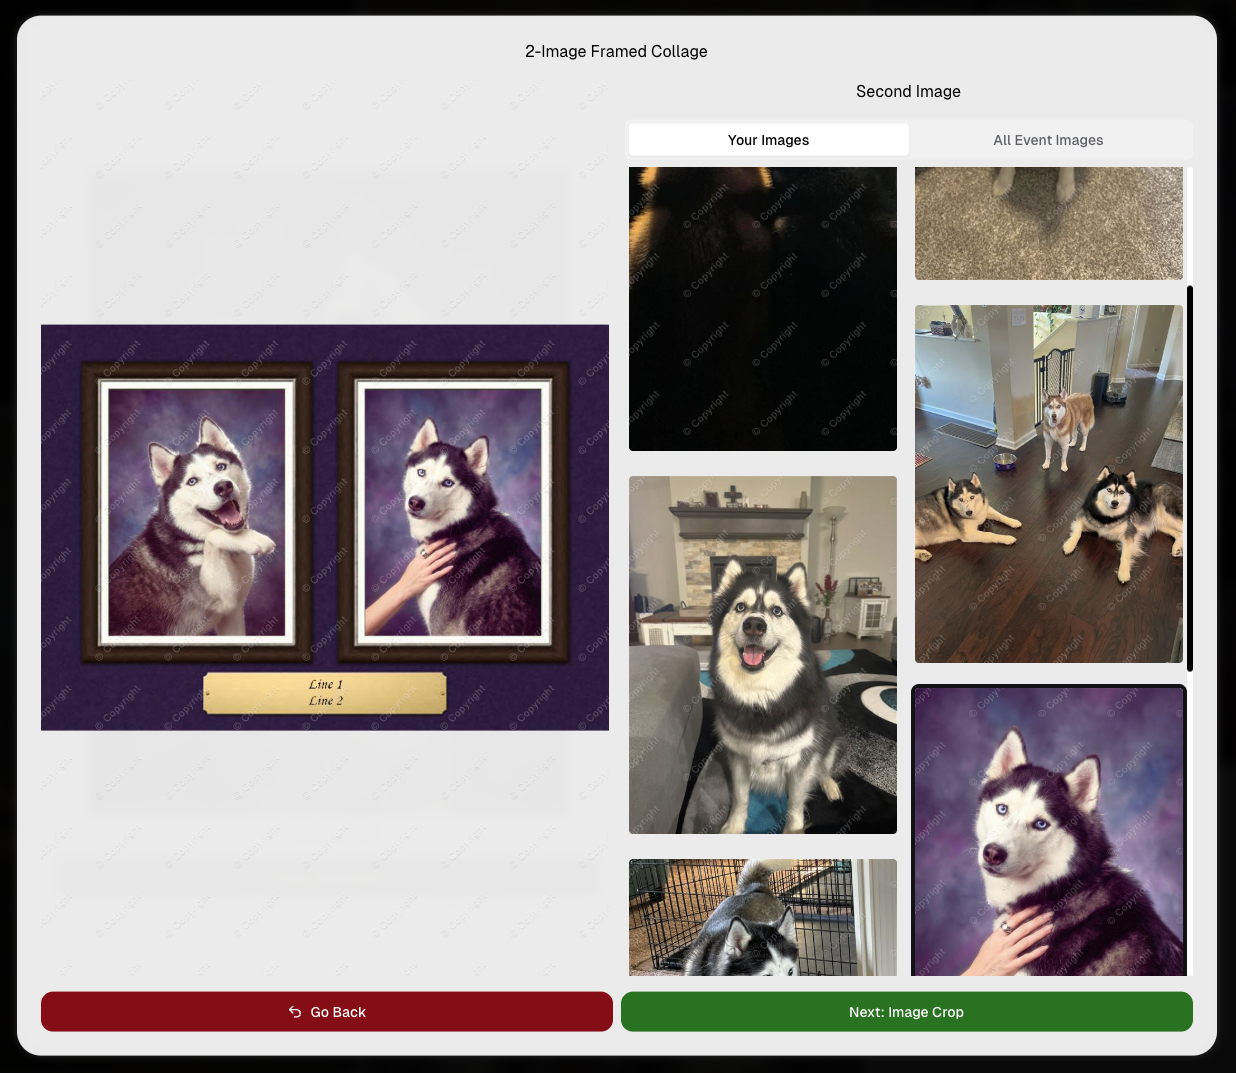
🖼️ New Products: Titled Luxe Prints (Dashboard + Retail)

Two new products just landed:

  • 5×7 Titled Luxe Print
  • 8×10 Titled Luxe Print

Want to see the 3D preview?
https://app.nowcandid.com/3d/titled-luxe-print

New: “Edit Titled Luxe Print” Page (per event)
There’s a new event-level page available in the Dashboard sidebar only if one of the new titled products is included in the event’s offer. From there, you can:

  • Set default captions
  • Select left/right logos
  • Preview the 3D render
  • (Easter egg: rotate the render and you can spot your business name on the backprinting.)

Notes:

  • Default captions and logos are optional
  • Retail shoppers can change captions when ordering
  • Logo requirements: upload/import a 650×650 transparent PNG
  • Retail supports both 2D + 3D renders, including your custom logos
  • Order Details pages now display the selected logos, similar to how we show captions and colors

That’s the week! 💫

Between Zoom Cropping, Titled Luxe Prints, and Candy Image Studio’s new From Scratch flow (plus a pile of cleanup across retail + downloads), this update adds a lot of power without adding extra complexity.

Keep creating magic,
— Candy 🍬

Big News: Introducing Client Outreach 🚀📣
Feature Updates
April 3, 2026

Big News: Introducing Client Outreach 🚀📣

6
 minutes read
Hey photo friends! 👋

This is a big one.

We’re excited to introduce Client Outreach — a brand-new tool that lets you reach your customers directly with one-off texts and emails, completely separate from your normal event marketing.

Whether you’re following up after an event, promoting future bookings, or nudging people who missed check-in… this gives you a simple, flexible way to stay connected.

Let’s break it down 👇

📣 What is Client Outreach?

Client Outreach lets you:

📩 Send one-off emails and texts

👥 Build contact lists from:

  • Existing events
  • Uploaded spreadsheets
  • Or both combined

🎯 Filter contacts based on:

  • Contacts with matched images
  • Contacts without matched images
  • Or everyone

This is not automated campaign messaging — it’s intentional, targeted outreach when you need it.

👥 Build Your Audience, Your Way

When creating an outreach list, you’ve got flexibility:

  • Pull contacts from one event, multiple events, or none
  • Upload your own spreadsheet of contacts
  • Combine both sources into one list

And when using events, you can choose:

  • Only people with images
  • Only people without images
  • Or everyone

That opens the door to some really useful workflows (more on that below 👀).

💬 SMS Outreach (Simple & Familiar)

Sending texts is designed to feel easy and familiar.

🧾 Uses a QuicPics-style editor + preview

✍️ Write your message and send to your list

🔗 Include links (galleries, check-in, etc.)

💸 Pricing:

$0.01 per segment, per text

A segment is roughly:

  • ~140 characters (standard text)
  • ~65 characters (if using emojis)

Longer messages may use multiple segments (typically 2–4).

📧 Email Outreach (Powered by Candy 🤖)

This is where things get really fun.

Instead of building emails manually…

👉 You just describe what you want, and Candy builds the email for you.

✨ How it works:

Tell Candy things like:

  • What the email should say
  • What tone you want (fun, professional, urgent, etc.)
  • What your call-to-action button should say
  • Where that button should link

Candy will:

✍️ Write the email

🎨 Design the layout

🧠 Generate a subject line

🏷️ Pull in your business info automatically

No HTML. No formatting headaches. Just describe it.

🧠 Even Smarter with Events

Every outreach must be tied to an event (for billing/history), but that unlocks some extra power:

If your outreach is related to that event, Candy can pull in things like:

🔗 Check-in links

🖼️ Cover photos

🖼️ Gallery links

And more!

👉 You can still override this and use your own URLs — Candy will follow your instructions.

📬 Sending Details

Emails are sent from:
your-business-name@quic.pics

Your business name is prominently shown in the inbox

You can edit the subject line Candy generates before sending

💸 Email Pricing

$0.01 per 10 emails (rounded up)

Examples:

  • 10 emails = $0.01
  • 11–19 emails = $0.02

🖼️ Bonus Tip: Include Images in Emails

If you have direct image URLs, you can give them to Candy and ask her to include them in the email.

Not sure how to get those? Google is your friend on this one 😄

📊 Track Performance

Just like order receipts, you can see:

👀 Opens

🖱️ Clicks

❌ Bounces

So you know what’s working.

💡 Real-World Use Cases

Here are just a few ideas:

📸 Catch Missed Check-Ins

Send a Selfie Check-In link after an event using a roster from a school or organizer.

📅 Promote Future Events

Reach past customers and say:
“Hey, we’re photographing again next week!”

🏈 Action Sports Galleries

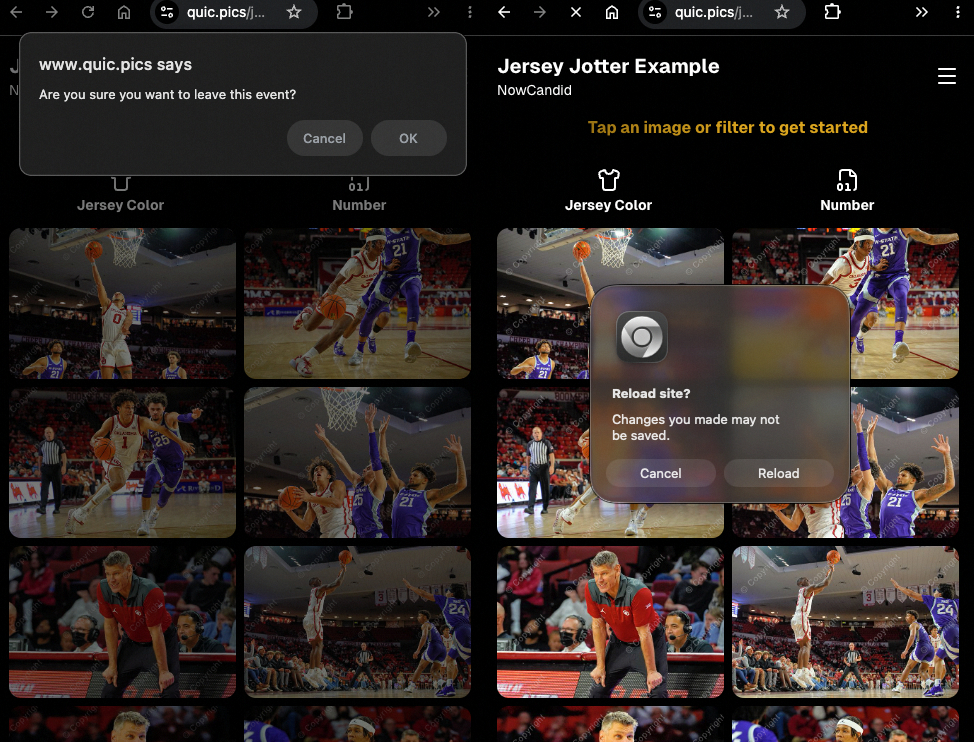
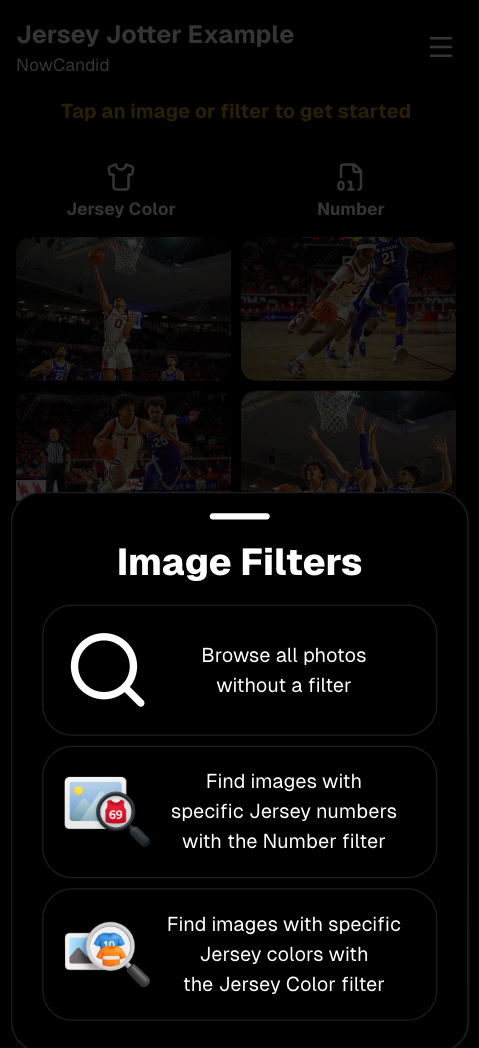
Send All Images Gallery links when using Jersey Jotter (where face matching isn’t ideal).

🧑‍🤝‍🧑 New Group Photos Added

Let people know:
“Your group photos are now live!”

📝 Post-Event Surveys

Send feedback forms to improve your next event.

🔔 Picture Day Reminders

Get ahead of the event with reminders to increase participation.

And that’s just scratching the surface.

🎯 Simple, Flexible, Powerful

Client Outreach is designed to be:

✅ Easy to use

🎯 Highly targeted

🔄 Flexible for different workflows

💸 Cost-effective

You’re in control of when, who, and what you send.

This is one of those tools that grows with you — whether you’re running small events or large-scale operations.

We can’t wait to see how you use it! 👀

More soon,

Candy 🍬

Weekly Recap: Client Outreach, Better Renders & Faster Tools 🍬📣
Feature Updates
April 3, 2026

Weekly Recap: Client Outreach, Better Renders & Faster Tools 🍬📣

5
 minutes read
Hey photo friends! 👋

This week’s headline is a big one: Client Outreach is here. It’s a powerful new way to connect with your customers outside of event-based marketing—and it opens up a ton of new possibilities for growing your business.

We’ll keep this recap focused on what it does at a high level, and we’ll link out to a full deep-dive guide so you can see exactly how to use it.

📣 NEW: Client Outreach (SMS + Email)

Client Outreach is a brand-new messaging system that lets you send texts and emails outside of your event campaigns.

👉 Learn more here: www.nowcandid.com/blogs/big-news-introducing-client-outreach-sms-email

What it can do:

📩 Send one-off emails and texts to past customers

📊 Track engagement (opens, clicks, bounces, etc.)

📂 Build contact lists from:

  • Events (with or without matched images)
  • Uploaded spreadsheets
  • Or both combined

🤖 Candy-powered email creation

  • Candy can write and design your outreach emails for you—including subject lines—so you don’t have to mess with formatting or HTML.

Why it matters:

This unlocks a ton of real-world use cases, like:

  • Sending Selfie Check-In links after an event
  • Promoting future bookings to past customers
  • Sharing All Images Galleries for action/sports events
  • Notifying customers about new uploads (like group photos)
  • Sending surveys or follow-ups

💸 Pricing is simple:

  • $0.01 per 10 emails
  • $0.01 per SMS (per segment, and longer texts may be 2–4 segments)

This is one of the most powerful tools we’ve added in a while!

🛍️ Retail: Better Products & Previews

✨ The following products will now always have the SoftTouch finish

  • Premium Prints
  • Premium Plaques
  • Luxe Prints
  • Titled Luxe Prints (coming soon)

🖼️ Improved 2D & 3D renders (especially Luxe)

  • More accurate lighting and better overall presentation.

🎯 3D renders prioritized in store sheet

  • The first three supported products now show as 3D when available.
  • Premium products take priority, but Luxe can now appear too depending on your offer.

Faster, higher-quality background generation

  • Better results, quicker turnaround.

📝 Caption fields no longer require every line

  • Customers can fill what you want, skip what they don’t.

🖥️ Dashboard Improvements

🔎 Smarter search across events & reports

  • Partial matches now work helping you search your events when you can't remember their exact names.
  • E.g. “mustang prom” will let you find “Mustang High School Prom 2025”.

Faster reports & charts

  • Reports pages and dashboard landing load quicker and use fewer resources.

🎨 New “Green Screen” node in Candy Image Studio

  • Instantly convert backgrounds into a green screen for use with your other editing workflows.

🧾 More flexible Offer creation

  • You can now duplicate any existing Price Level when creating an Offer, not just your own or prebuilt ones.

💳 Accounts must now have ACH set up before creating events

  • This has been a point of confusion for some users for some time.
  • By simply requiring ACH info, we can avoid a lot of accounting confusion for photographers down the line!

💰 New “Payout Breakdown” on Order Details

  • Visual, color-coded breakdown of order totals for better clarity.

📱 Capture App 5.4.2 (iOS & Android)

🛠️ Fixed an issue where the background removal popup would reappear after confirming and exiting shooting mode.

That’s the week!

Client Outreach is the star of the show here—it gives you a whole new way to stay connected with your customers beyond the event itself.

Pair that with better product presentation and faster tools, and you’ve got a strong upgrade across the board.

More coming soon! 👀

Candy 🍬

Let’s get in touch

If you’re a photographer looking to add NowCandid services to your wheelhouse – set up a call by clicking the button below.

How to customize formatting for each rich text

How to customize formatting for each rich text

How to customize formatting for each rich text

How to customize formatting for each rich text

How to customize formatting for each rich text

What’s a Rich Text element?

The rich text element allows you to create and format headings, paragraphs, blockquotes, images, and video all in one place instead of having to add and format them individually. Just double-click and easily create content.

A rich text element can be used with static or dynamic content. For static content, just drop it into any page and begin editing. For dynamic content, add a rich text field to any collection and then connect a rich text element to that field in the settings panel. Voila!

Headings, paragraphs, blockquotes, figures, images, and figure captions can all be styled after a class is added to the rich text element using the "When inside of" nested selector system.

  • List One
  • List Two
  • List Three
  • List Four
  • List Five

This is a link

This is bold text